Structural Building Panel Assembly
Now that you have watched the video on construction of the 640 sqf. house, lets look a little closer at the assembly of the composite panels.
A typical base or floor is concrete and it usually embodies the sewer and plumbing. This means the construction will require advance planning to optimize the Gorilla structural panel.
The following is an engineering sample structure, solely for the purpose of demonstrating, in detail, of how the overall structure is made.
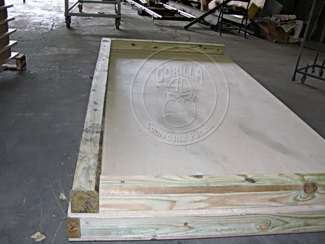
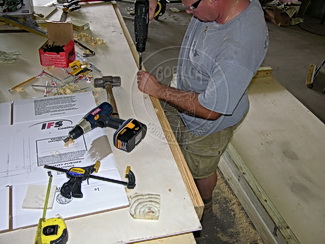
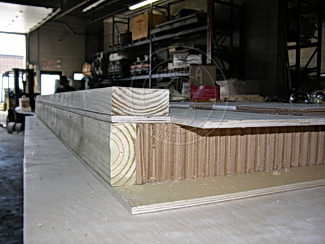
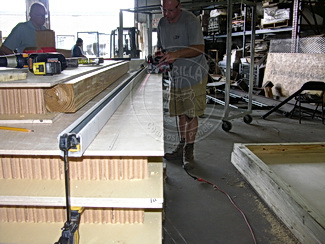
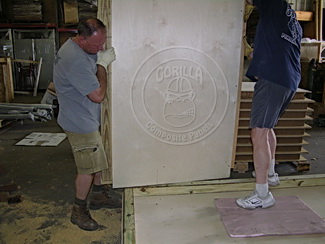
In the first photo, we are using a 4 x 8 foot floor edged in 4 x 4 inch wolmanized lumber to stay consistent with the water resistance and termite resistant properties. Here, a specific adhesive has been applied between the floor and the 4 x 4 inch base plate. A 1/4 in. x 6 in. lag bolt every 24 inches is drilled in to insure good surface to surface bond between the base plate and floor. The Gorilla recommended adhesive will vary based on what surface the base plate is being adhered to.
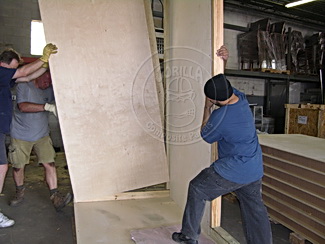
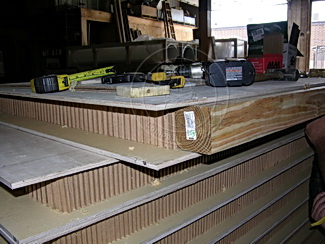
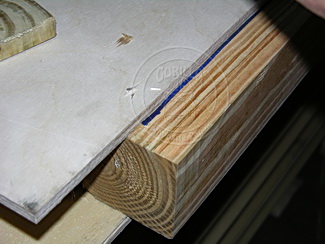
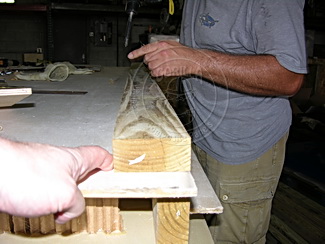
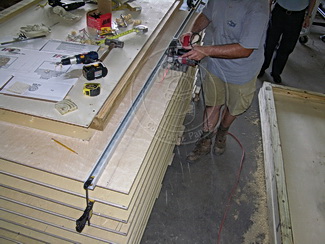
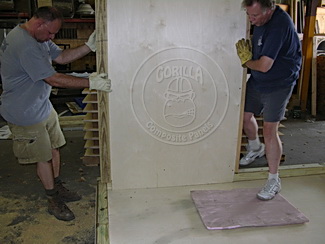
In this photo, you see a Gorilla engineer inserting a spline joint. This 4 x 4 inch wolmanized beam is glued and fasten for strength and permanent durability. Remember, the fasteners are for holding the surfaces together while the adhesive finishes are curing. Once the panel is ready it will be stood up in place, bonded and fastened. The blue line represents the center of the spline.
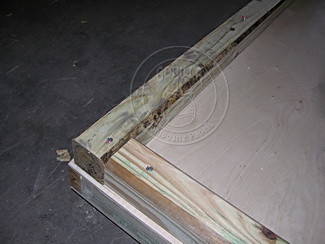
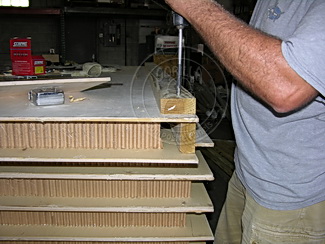
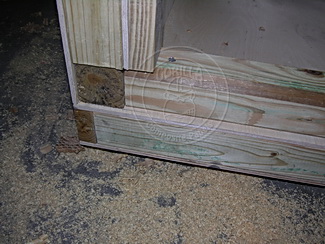
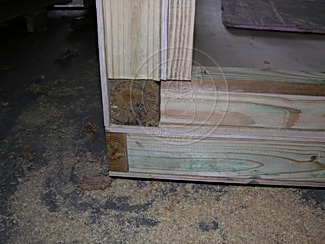
In this series of photos, you see the corner of the house being assembled. This is the most important part of the house body. As you can see, the corner is reinforced in both directions as a multi-surface connection and bond. Because each plate is integrated in each direction of the wall they become inter-dependent. Each plate is bonded with a special Gorilla adhesive and fastened for a perfect surface-to-surface bond.
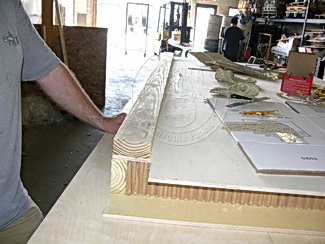
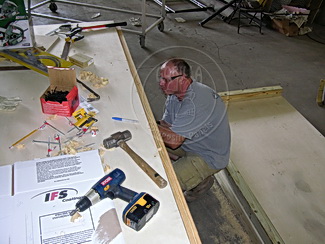
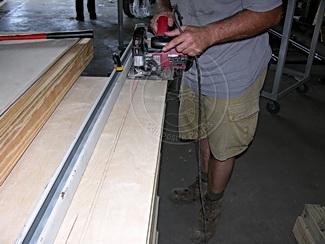
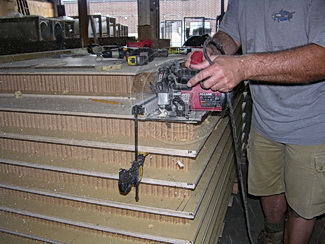
In this set of photos you see our Gorilla engineer cutting back the receiving corner wall panel.
This allows the panel with the mounting plates to fit inside the receiving wall.
In these photos you see the rear wall panel with the mounting plates being placed into position.
Because the floor already has the existing base plates, there is no need to check for squareness.
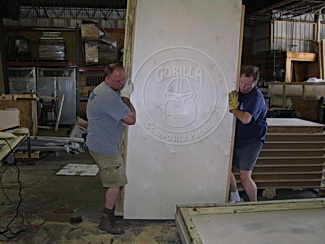
Here you can see how the entire structure integrates and transfers loads to the walls and corners.
This view shows how easily the panel is set into place and connects to the back wall.
Adhesive and fasteners are used to complete the corner assembly.